9 , February
Construction Process
The construction process for fiberglass septic tanks is as follows: Positioning and layout → Excavation of the foundation pit → Treatment of the base layer → Equipment placement → Flushing the tank with water → Layered backfilling → Construction of connecting wells and inspection wells → Hardening the ground.
Main Construction Methods
1. Laying out lines and excavating trenches.
According to the model of the fiberglass septic tank in the drawings, excavate the foundation trench according to the model dimensions, elevation, and marking lines, complying with all relevant construction specifications. In areas with high groundwater levels, drainage is required during trench excavation.
2. Treating the foundation bedding layer.
The bearing capacity of the foundation at the fiberglass septic tank construction site should be no less than 100kN/㎡. If there is no groundwater, use a 200mm thick sand bedding layer. If there is groundwater or a soft base layer, first pour a C10 concrete bedding layer, then lay a 100mm thick sand bedding layer. In collapsible loess areas, construct a 300mm thick 3:7 lime-soil bedding layer, compacted in layers, with a compaction coefficient of no less than 0.95. During construction, avoid excavation; any excavation must be backfilled and compacted to ensure density. After the foundation bedding layer is treated, construct a 5cm-10cm sand bedding layer on top. The sand bedding layer must be free of grass roots and other organic debris.
3. Equipment Placement.
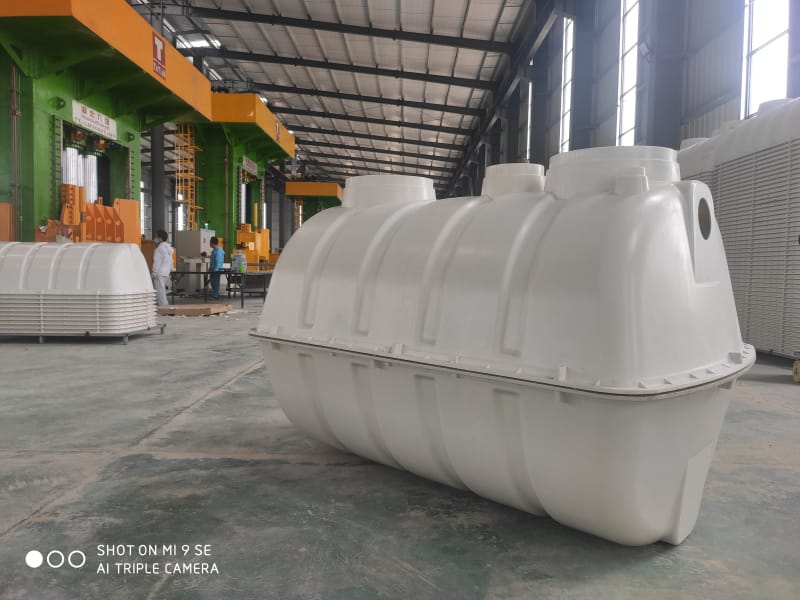
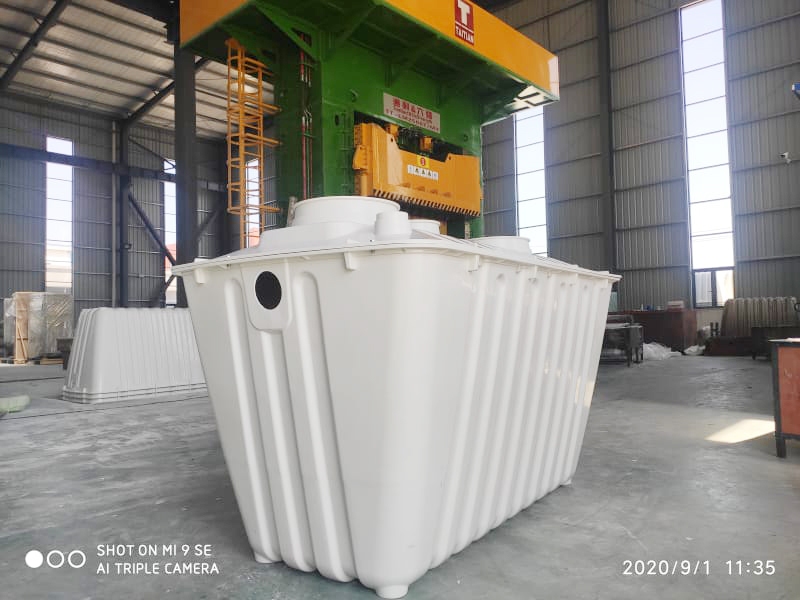
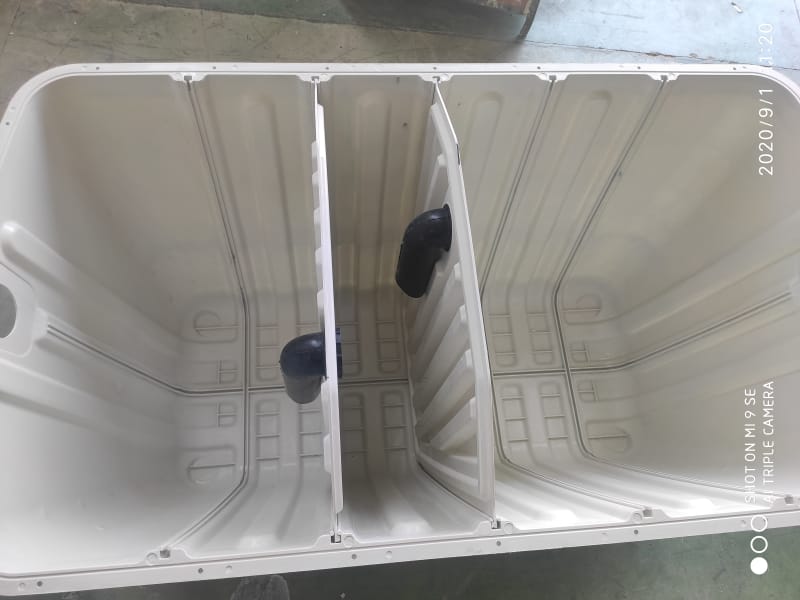
After the fiberglass septic tank arrives on site, before placing it in place, check the surface for obvious quality defects such as cracks and scratches. Verify the accuracy of elevations at all points, and determine the correct inlet and outlet water directions (marked with arrows). Once confirmed, use a crane to lift the fiberglass septic tank into the prepared foundation trench. After placement, check that the elevations of the inlet and outlet pipes meet the design drawings, and that the horizontal water flow axis is aligned with the drainage pipe axis.
4. Water Filling.
After the equipment is in place and meets the requirements, fill it with water. First, fill the tank to 1/3 of its height with water, and simultaneously surround the bottom of the fiberglass septic tank with soil to stabilize it. Then, fill the tank with water synchronously according to the backfill height, minimizing the impact force during backfilling.
5. Layered Backfilling.
After installation and water filling, backfilling should be carried out promptly. The bottom 500mm on both sides should be filled with yellow sand and compacted (if the soil is clay, the entire area around the tank should be filled with yellow sand and compacted). When filling with sand, sprinkle water into the sand every 300mm and compact it. A plate vibrator can be used for compaction (see diagram). The backfill soil must not contain organic matter, frozen soil, or large hard lumps such as bricks or stones. Construction waste must not be used for backfilling; fine-grained soil should be used. Backfilling can be done in layers with a loose thickness of 250mm, preferably by manual compaction. Avoid forceful impacts or mechanical backfilling to prevent damage to the tank.
6. Construct connecting wells and inspection wells.
When the backfill reaches a certain height, install inlet and outlet connecting wells and inspection wells. A concrete base layer must be constructed at the bottom of both wells to prevent damage to the fiberglass septic tank and pipes caused by uneven settlement of the foundation.
7. Harden the ground surface.
When the fiberglass septic tank is located under a driveway or parking lot, the soil cover should be no less than 1.5m high and hardened. A reinforced concrete structure is recommended for hardening to reduce the load on the fiberglass septic tank.